How to Effectively Establish Native Plant Plugs – Getting Started!

May 9, 2020
Download this document to use as a reference when establishing Ecotype Project seedlings from one of our nursery and plant sale partners.
How to Effectively Establish Native Plant Plugs
See below for a more detailed description with links for to further resources.
Special thanks to John Campanelli for creating this document for our farmers, gardeners and conservation partners.
How to Effectively Establish Native Plant Plugs
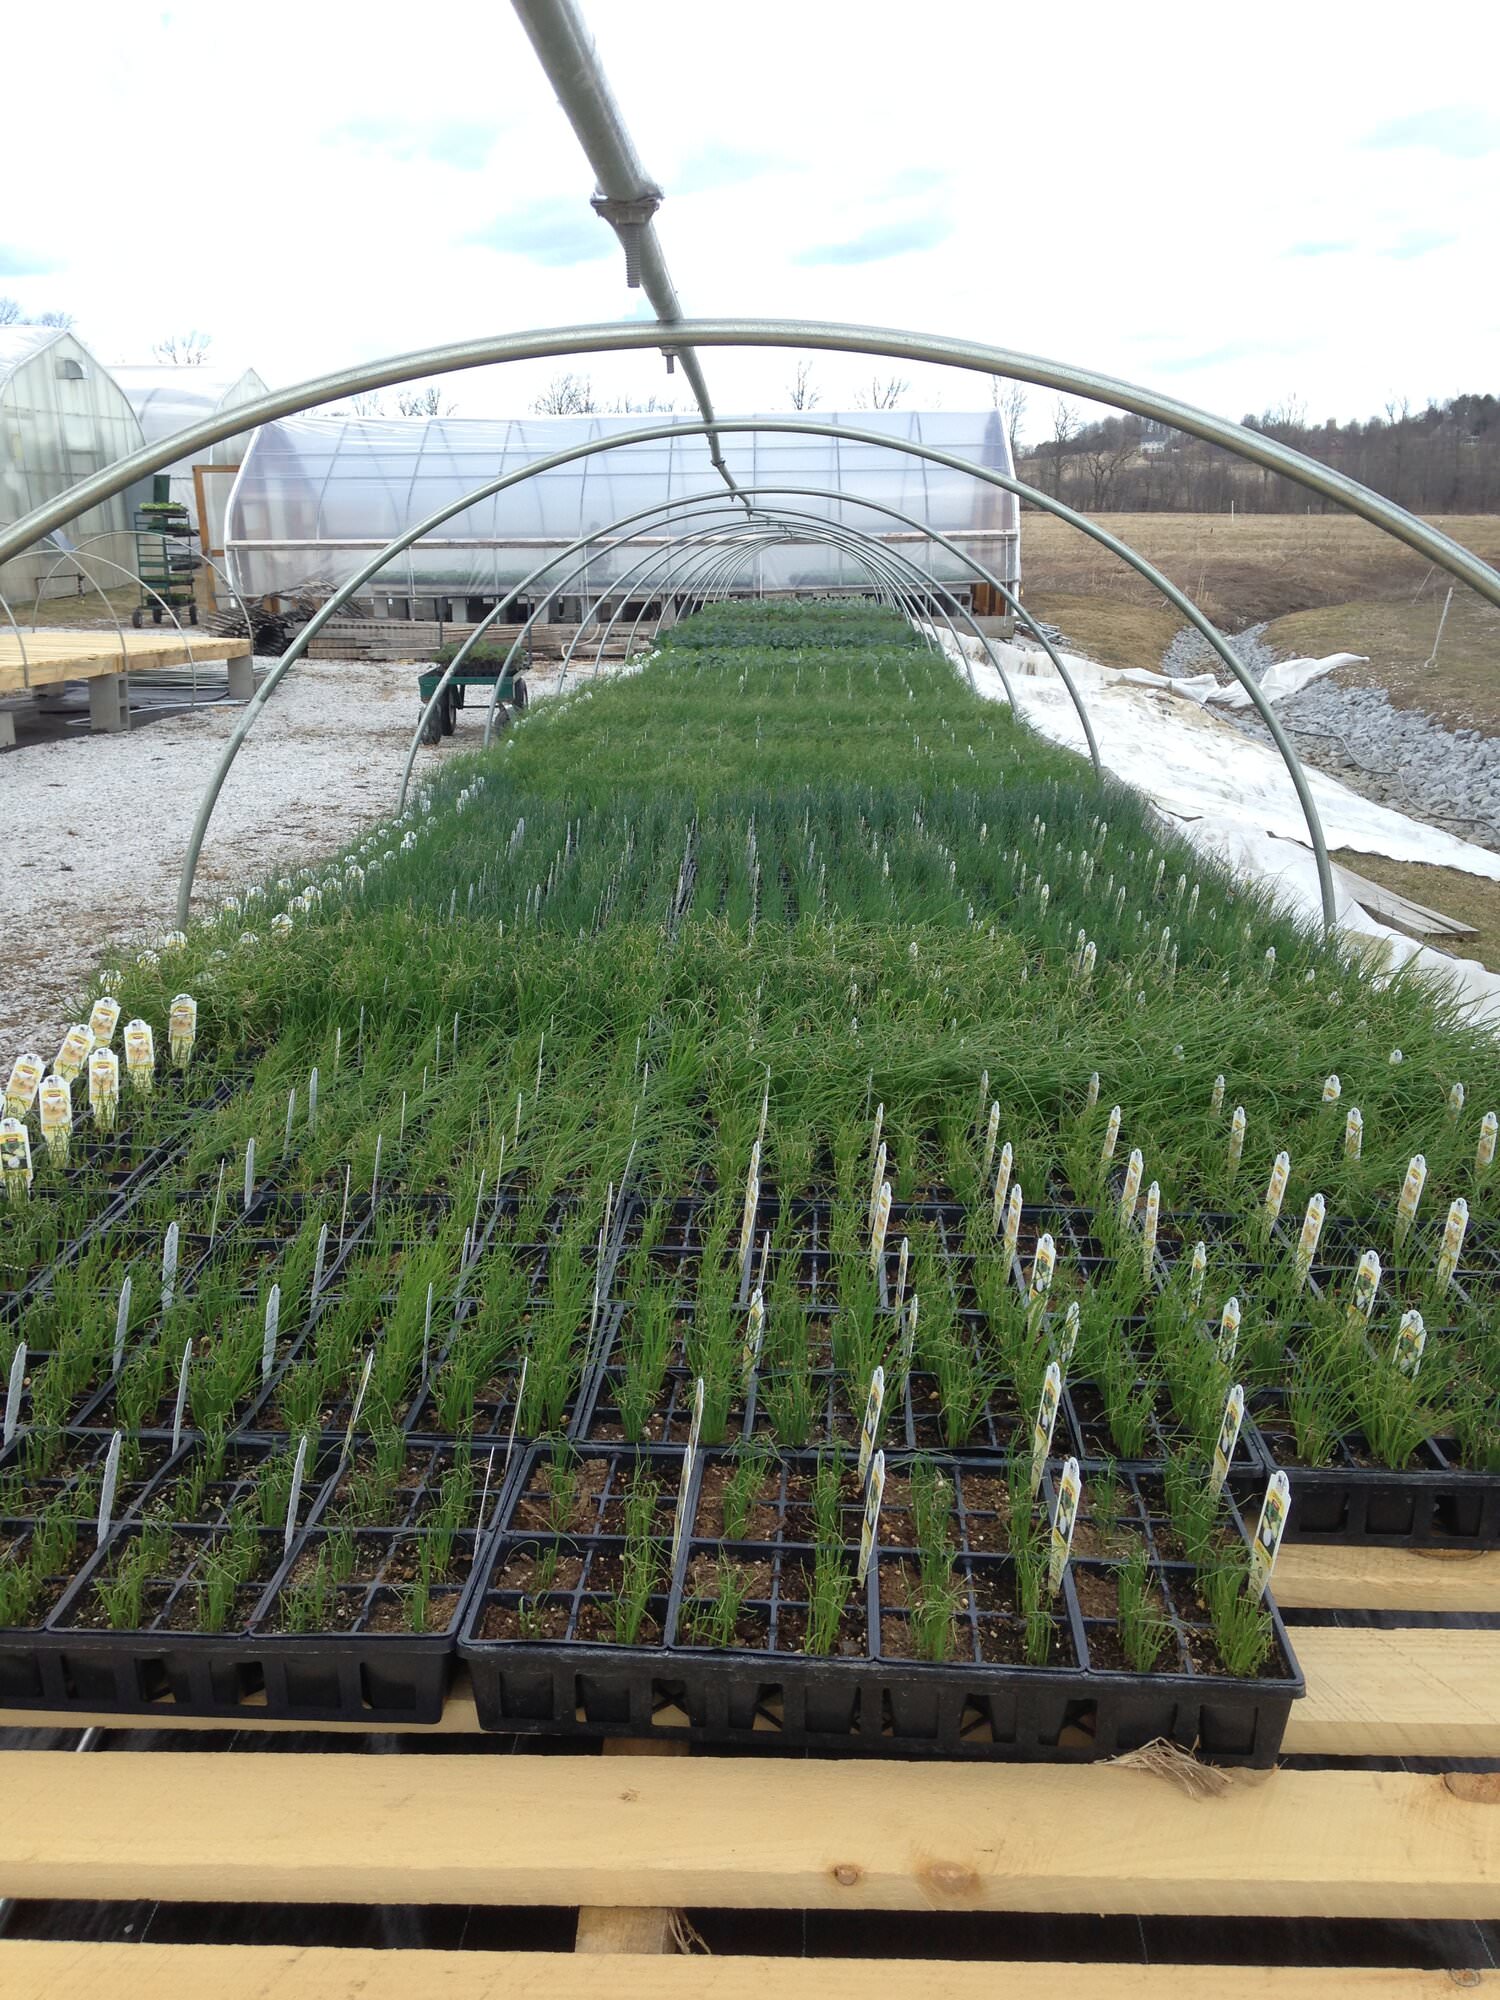
Native herbaceous plants are frequently sold as plugs because their compact size allows for the creation of masses and drifts to better emulate how they grow in nature. Once the plants leave the constraints of the plug tray and their roots can expand more freely in the soil, they rapidly grow taller and wider, filling in the space between plugs. However, achieving dense stands of each species requires planning and preparation.
Landscaping with Native Plants (A comprehensive guide for landscaping with native plants. However, as part of site preparation, this guide mentions the use of herbicides, which we at NOFA discourage.)
A Guide to Native Plant Gardening – Lady Bird Johnson Wildflower Center
7 Ways to Use Drifts and Masses In Your Garden
Site Selection and Assessment
Decide how and where you want to use plugs, whether for new border gardens, massing among shrubs in existing foundation beds, pollinator or other wildlife habitats, or replacing portions of lawn with small meadows. Assess the space where you will be planting to determine the quality of sunlight, moisture, and soil. Survey existing vegetation to determine what does and does not thrive. In particular, identify the type and number of existing weeds.
Site Preparation
Successful establishment requires that the plugs not get outcompeted by existing weeds and their seed banks. We suggest keeping any soil tilling to a minimum since doing so results in the germination of previously dormant weed seeds. However, if choosing a site overrun by weeds and invasive plants, plan appropriate site preparation weeks – if not months – before planting, especially when using organic methods for killing existing vegetation.
Sheet Mulching: How to Smother Weeds, Build Soil & Conserve Water the Easy Way
Map the Area to Be Planted
Outline the area to be planted whether with rope, hose, or stakes. Since most planting spaces have round, irregular edges, measure the length and width as best you can to determine the rough square footage. While each species spreads at different rates, an easy rule of thumb for estimating the number of plugs needed to achieve dense stands within a year is one plug per square foot.
Native Plant Garden Designs For Small Spaces
Estimating Irregularly Shaped Areas
Calculate the size of your garden bed
Preparing to Plant
Plugs require planting a greater number of plants than most landscaping projects. Therefore, it’s important to develop an easy, uniform, and effective planting method.
- Keep plugs moist before planting
Because their compact roots leave them susceptible to drying out, it’s important that plug trays be kept well-watered and out of direct sun from the moment they’re brought home up until they’re planted. Make sure to thoroughly water them two to three hours before planting. This makes it easier to remove them from their trays and loosen their roots before putting them in the ground. In addition, by deeply watering the plugs just before planting, they can be removed from their trays and laid in the spots they will be planted without drying out, thus saving time.
- Recommended tools, starting with those we deem most convenient to use, include:
- ProPlugger 5-IN-1 Lawn Tool and Garden Tool, Bulb Planter, Weeder, Sod Plugger, Annual Planter, Soil Test (available through Amazon)
- 3″ bulb & bedding plant auger drill attachment
- Bulb planter tool
- Small spade
- Hand trowel
Planting Plugs: Putting Tools to the Test
ProPlugger 5-IN-1 Lawn Tool and Garden Tool, Bulb Planter, Weeder, Sod Plugger, Annual Planter, Soil Test (ProPlugger demonstration video)
Power Planter 100% USA Made 3″x7″ Bulb & Bedding Plant Auger
- Determining spacing and groupings
Taking time before planting to determine the spacing of the plugs will ensure uniform density and that your supply of plugs cover the desired area. When planting larger areas, use a grid pattern with plants 12” off center from each other.
If you’re creating smaller groups of a variety of species, be aware of the differences in mature heights when arranging each group. If planting against a structure, make sure the tallest species are in the back along the structure to ensure shorter species receive proper light.
Planting in the Ground
Plant plugs to a depth that allows the plant’s crown to lie at soil level. Backfill soil between the plug and the hole.
Water in plugs immediately after installation to fill soil air holes around root systems. During the first three weeks, water plantings for about 60 minutes every four days on mild spring days or every three days on hot summer days. A one-hour watering will soak more deeply than 15-minute ones.
Mulch helps conserve soil moisture and reduces weed pressure. We recommend immediately after planting 2-4” of mulch. Preferred mulches include weed-free wheat straw, dried grass clippings, cocoa bean hulls, or dried shredded leaves. Avoid cocoa bean hulls on heavy or wet soils or in dense shade to prevent fungus build-up. Avoid using bark mulch, especially large pieces.
WeedGuardPlus Organic Paper Mulch
Proactive Weed Prevention
Vigilant weed control the first year will ensure effective establishment over the long term. By preventing weeds from outcompeting herbaceous native plants, the plugs will fill in the spaces between plants, resulting in dense stands and few weeds the following years.
Taking care of natives in your home garden
Funding has been provided by the Specialty Crop Block Grant Program of the Agricultural Marketing Service, US Department of Agriculture, awarded and administered by the Connecticut Department of Agriculture.
Recent Posts
2026 Seed Swap at CT NOFA Winter Conference
The Seed Swap Table is where conference attendees can exchange seeds and diversify their gardens and farms with unique and regionally adapted varieties. The swap is open to all conference participants, from home gardeners to experienced growers. Participants are invited to bring labeled seeds to share and take home new seeds to try. The swap operates on a trust-based, give-and-take system — bring what you can and take what sparks your interest.
Read MoreNational Leader of the Movement for Green Amendments Speaking at Public Town Halls Across Connecticut on the CT Environmental Rights Amendment
Maya van Rossum, founder and leader of the national movement for Green Amendments to state constitutions across the United States and Delaware Riverkeeper, will be speaking in a series of public town hall events across Connecticut. All of these events are free and open to the public. Light food and refreshments will be provided. Photo identification will be required to enter the Stamford Government Center. Key legislators from each part of the state are invited.
Read More

